前言 在本地环境测试网站HTTPS是否能正确工作时同样需要用到证书,但由于本地环境一般没有公网IP,没有固定域名等原因,所以就会考虑采用非正式的证书,即会选择使用自签名证书(Self-signed SSL Certificate)
一、环境准备:
1.ActivePerl 安装 下载msi文件之后直接安装,这里我安装到了D盘
2.VS2008安装 可以参考
3.openssl安装 下载之后解压到D:\openssl-1.0.1c
执行以下命令
1
2
3
4
5
perl Configure VC-WIN32 -DOPENSSL_USE_IPV6=0 --prefix=D:\openssl-1.0.1c ms\do_ms nmake -f ms/ntdll.mak nmake -f ms/ntdll.mak test nmake -f ms/ntdll.mak test
二、生成密钥、证书 1.为服务器端和客户端准备公钥、私钥 1 2 3 4 5 6 7 8 # 生成服务器端私钥 openssl genrsa -out server.key 1024 # 生成服务器端公钥 openssl rsa -in server.key -pubout -out server.pem # 生成客户端私钥 openssl genrsa -out client.key 1024 # 生成客户端公钥 openssl rsa -in client.key -pubout -out client.pem
2.生成 CA 证书 1 2 3 4 5 6 # 生成 CA 私钥 openssl genrsa -out ca.key 1024 # X.509 Certificate Signing Request (CSR) Management. openssl req -new -key ca.key -out ca.csr # X.509 Certificate Data Management. openssl x509 -req -in ca.csr -signkey ca.key -out ca.crt
在执行第二步时会出现
1 2 3 4 5 6 7 8 9 10 11 12 13 14 15 16 17 18 19 20 D:\openssl-1.0.1c\keys>openssl req -new -key ca.key -out ca.csr Loading 'screen' into random state - done You are about to be asked to enter information that will be incorporated into your certificate request. What you are about to enter is what is called a Distinguished Name or a DN. There are quite a few fields but you can leave some blank For some fields there will be a default value, If you enter '.', the field will be left blank. ----- Country Name (2 letter code) [AU]:CN State or Province Name (full name) [Some-State]:GuangDong Locality Name (eg, city) []:GuangZhou Organization Name (eg, company) [Internet Widgits Pty Ltd]:My CA Organizational Unit Name (eg, section) []: Common Name (e.g. server FQDN or YOUR name) []:localhost Email Address []: Please enter the following 'extra' attributes to be sent with your certificate request A challenge password []: An optional company name []:
可以参考上面配置
3.生成服务器端证书和客户端证书 1 2 3 4 5 6 7 8 # 服务器端需要向 CA 机构申请签名证书,在申请签名证书之前依然是创建自己的 CSR 文件 openssl req -new -key server.key -out server.csr # 向自己的 CA 机构申请证书,签名过程需要 CA 的证书和私钥参与,最终颁发一个带有 CA 签名的证书 openssl x509 -req -CA ca.crt -CAkey ca.key -CAcreateserial -in server.csr -out server.crt # client 端 openssl req -new -key client.key -out client.csr # client 端到 CA 签名 openssl x509 -req -CA ca.crt -CAkey ca.key -CAcreateserial -in client.csr -out client.crt
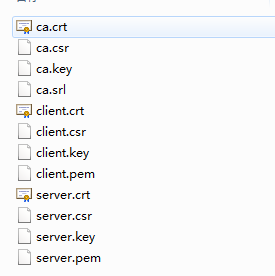
最后生成的文件如下:
三、本地测试 将server.crt跟server.key复制到nginx安装目录的conf的keys文件夹下面
1 2 3 4 5 6 7 8 9 10 11 12 13 14 15 16 17 18 19 20 21 22 23 24 25 26 27 28 29 30 31 32 33 34 35 36 37 38 39 40 41 42 43 44 45 46 47 48 49 50 51 52 53 54 55 56 57 58 59 60 61 62 63 64 65 66 67 68 69 70 71 72 73 74 75 76 77 78 79 80 81 82 83 84 85 86 87 88 89 90 91 92 #user nobody; worker_processes 1; #error_log logs/error.log; #error_log logs/error.log notice; #error_log logs/error.log info; #pid logs/nginx.pid; events { worker_connections 1024; } http { include mime.types; default_type application/octet-stream; #log_format main '$remote_addr - $remote_user [$time_local] "$request" ' # '$status $body_bytes_sent "$http_referer" ' # '"$http_user_agent" "$http_x_forwarded_for"'; #access_log logs/access.log main; sendfile on; #tcp_nopush on; #keepalive_timeout 0; keepalive_timeout 65; #gzip on; server { listen 80; server_name localhost; #charset koi8-r; #access_log logs/host.access.log main; location / { root html; index index.html index.htm; } #error_page 404 /404.html; # redirect server error pages to the static page /50x.html # error_page 500 502 503 504 /50x.html; location = /50x.html { root html; } # proxy the PHP scripts to Apache listening on 127.0.0.1:80 # #location ~ \.php$ { # proxy_pass http://127.0.0.1; #} # pass the PHP scripts to FastCGI server listening on 127.0.0.1:9000 # #location ~ \.php$ { # root html; # fastcgi_pass 127.0.0.1:9000; # fastcgi_index index.php; # fastcgi_param SCRIPT_FILENAME /scripts$fastcgi_script_name; # include fastcgi_params; #} # deny access to .htaccess files, if Apache's document root # concurs with nginx's one # #location ~ /\.ht { # deny all; #} } # another virtual host using mix of IP-, name-, and port-based configuration # #server { # listen 8000; # listen somename:8080; # server_name somename alias another.alias; # location / { # root html; # index index.html index.htm; # } #} # HTTPS server server { listen 443; server_name localhost; ssl on; ssl_certificate keys/server.crt; ssl_certificate_key keys/server.key; ssl_session_timeout 5m; ssl_protocols SSLv2 SSLv3 TLSv1; ssl_ciphers HIGH:!aNULL:!MD5; ssl_prefer_server_ciphers on; location / { #root html; #index index.html index.htm; proxy_redirect off; proxy_set_header Host $host; proxy_set_header X-Real-IP $remote_addr; proxy_set_header X-Forwarded-For $proxy_add_x_forwarded_for; proxy_pass http://localhost:8080/; } } }
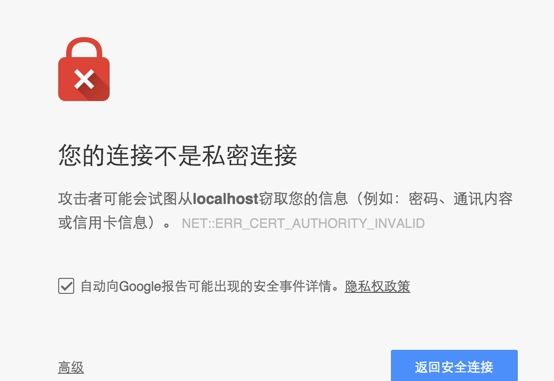
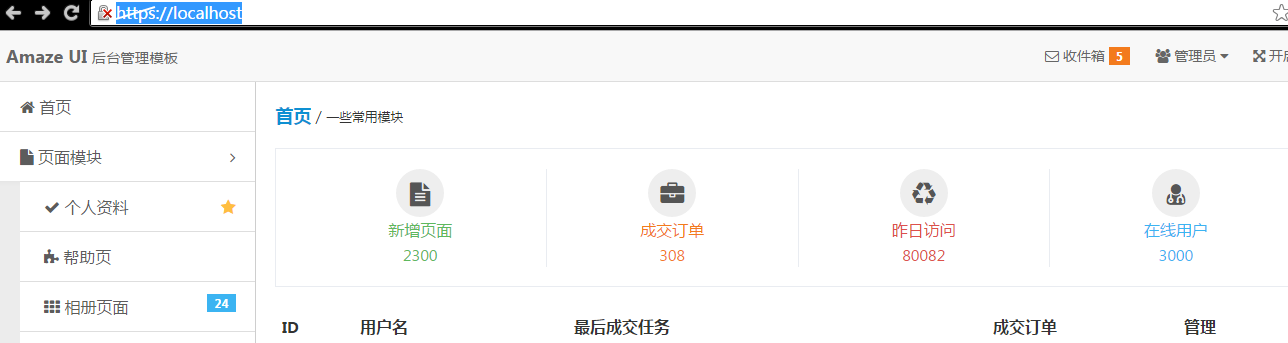
这里我本地https://localhost/跳到本地resin应用(8080端口)
配置好nginx之后nginx -s reload重新加载配置https://localhost/